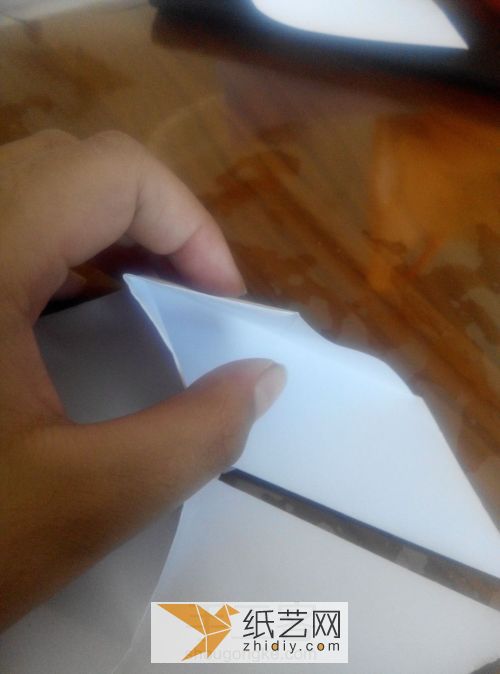
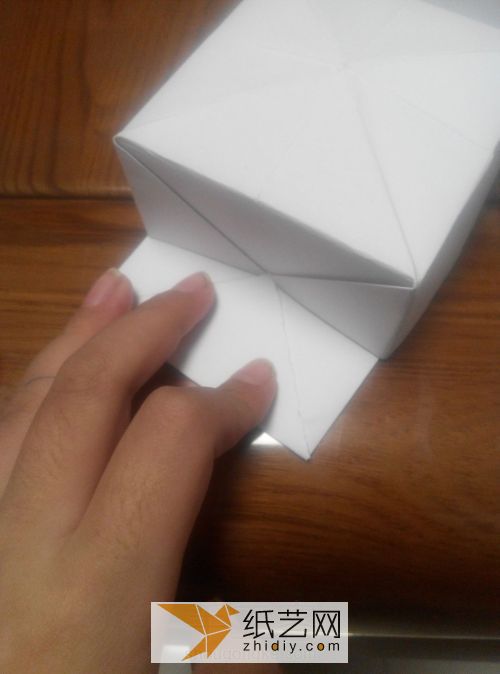
What can you make with origami? Everything in this world can be made. As long as it is some common things in our daily life, we can fold it through origami. And by displaying it through origami, we can get unexpected beautiful effects, such as The tutorial for making an origami book is one example. It is the kind of small book that is very common in our daily life. It can also be displayed through origami. This is very magical, because the simple paper can be folded perfectly. After that, it is indeed very interesting to form the structure of a small book.
You can use larger paper to fold out a larger notebook, and then record your own things in it. This becomes the production of a notebook. We still haven’t learned how to make hand-made origami notebooks before. Yes, because the production of some small books that I learned before is similar to the binding method, but now you can use the origami method to obtain small books. This production method is definitely popular with everyone. When learning how to make a hand-made origami book, we first need to see how the entire hand-made origami book shows the effect he wants, that is, whether the beauty of this three-dimensional direct effect can be enough. It actually does work to attract us. When we learn to make folding boxes for hand-made origami notebooks, if we encounter some other problems that need to be dealt with, we can deal with them based on our own understanding or the experience accumulated in the process of learning origami.
Step 1:

Finished product
Step 2:

Preparation piece of printing paper
Step 3:

Cut out a square
Step 4:

Fold two diagonal lines
No. 5 steps:

Fold the four corners in
Step 6:

Open two corners
Step 7:
< img alt="Creative Origami Tutorials: How to Fold Origami Booklet" src="https://img.111diy.com/timthumb.php?src=/d/file/20220222/nq440qiirma.jpg" />
Fold it from the middle
Step 8:

Fold it like this
Step 9:

Fold in half from the middle line
Step 10:< /p>

Plate flat
Step 11:

Open a port
Step 12:

Flatten
No. 13 Steps:
 < /p>
< /p>
Turn over
Step 14:

The same is true for the other corner
Step 15:

Flatten
< p>Step 16:
Fold this corner to the center
Step 17:

The four corners are like this
Step 18 :

Open these two corners
Step 19:

Press this corner in
Step 20:

Both corners are like this
Step 21:

Press here
Step 22:

Turn over
Step 23:

Turn over
Step 24:

Plate flat
Step 25:

Fold this corner over
Step 26:

The same goes for the other corner
Step 27:

Fold the bottom corner again
Step 28:

The one above Fold the corners down
Step 29:

Fold the reverse side again
Step 30:

Fold the bottom corner up from the middle
Step 31:

Plate flat
Step 32:

The same applies later
Step 33:

Pay attention to the middle
Step 34:

Put it up
Step 35:

Flatten
No. 36 steps:

Look at this corner
Step 37:

Fold in
Step 38:

Press it inside
Step 39:
Look at this corner
Step 40:

Fold it inside
Step 41:

Pay attention to the middle, this step is called "paper sinking"
Step 42:

Press in
Step 43:

Fold it
Step 44:

Look at this corner
Step 45:

Stuff it inside
Step 46:< /p>

Plate flat
Step 47:

Fold in half
Step 48:

Flatten
No. 49 steps:

Open it slightly, and the little book is ready!
Step 50:


![[Origami Encyclopedia] Creative handmade origami video tutorial on origami Apple LOGO](https://img.111diy.com/timthumb.php?src=/d/file/20220217/dd2zin3tlq5.jpg&w=200&h=200&zc=1)

![[Complete Fish Origami] Carp Origami Illustrated Tutorial](https://img.111diy.com/timthumb.php?src=/d/file/20220217/crxjaul5f53.jpg&w=200&h=200&zc=1)


