How to make origami boxes and tutorials for everyone I have already learned a lot, and many interesting handmade origami boxes are very simple to make. However, many students are more concerned about making a complete origami box. The so-called complete origami box means the lid of the origami box and the origami box. box body. When we learn how to make hand-made origami boxes, we definitely hope to be able to fold beautiful and complete origami boxes. This is because many times the origami boxes we fold will be used as storage boxes, that is, we can fold them by hand. Use origami to create a storage box for daily use. Although some of the handmade origami box making tutorials we recommended to you before can show the entire box, they do not include the making of the lid of the origami box, so many students still feel unsatisfied and hope to learn a complete tutorial on origami boxes. Especially for this handmade origami box, the lid of the box must be included.
The manual illustration tutorial you see here is to present the complete method of making an origami box. As you can see, if you can make a storage box structure, you can also see an origami box. The lid is in it. In what scenarios can such handmade origami boxes be used? We can know that when we prepare handmade gifts, if we can use handmade origami boxes for packaging or decoration, this can increase the beauty of our handmade gifts, or the blessings carried on the gifts. Maybe you also want your handmade origami box to look significantly different from other peoples origami boxes. If you really want to achieve this goal, we recommend that you combine the body part of the origami box and the lid part of the origami box. Made as two different colorsway to make it.
Step 1:

Today I will teach you how to fold a box. Ah, it is actually not difficult. Please be careful. For folding, you don’t have to use printing paper, colored paper can also be used. As before, if you are watching the tutorial, remember to bookmark it and follow it. I have posted this box as a handmade circle. You can come to the space to take a look and give it a like!
Step 2:

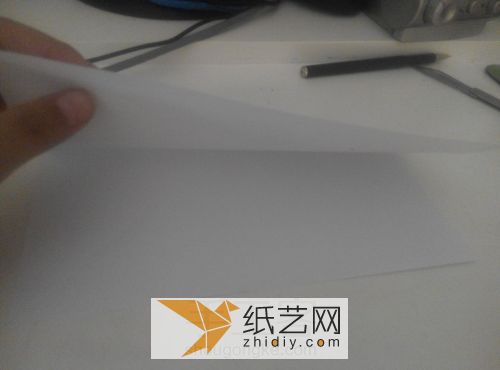
Okay, without further ado, let’s start today’s tutorial. First, prepare two pieces of printing paper
Step 3:

Step 4:

Fold edge to edge
Step 5:

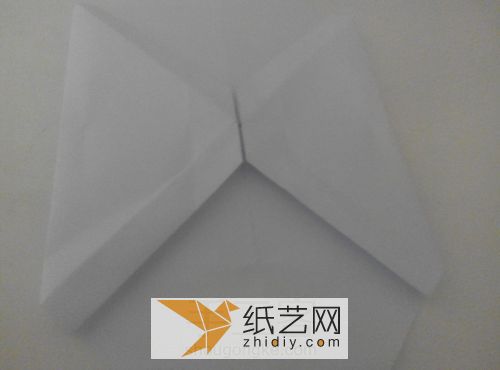
Change the direction and continue folding in half
Step 6:

Then fold out two diagonal lines
Step 7:

Step 8:

Step 9:
p>
Step 10:

Step 11:

Step 12:

Step 13:

Step 14:
p>
Step 15:

Step 16:

Step 17:

Step 18:

Step 19:

< /p>
Step 20:

Step 21:

Step 22:

Step 23:

Step 24:

Step 25 :
 < /p>
< /p>
Step 26:

Step 27:

Step 28:

Step 29:

Step 30 :
 < /p>
< /p>
Step 31:

Step 32:

Step 34:

Step 35:

Step 36:

Step 37:

Step 39:

Step 40:

Step 41:

Step 42:

Step 43:
p>
Step 44:

Step 45:

Step 46:

Step 47:

Step 48:

Step 49:

That is, when we fold the body part of the origami box and the origami warrior, we use paper of different colors to fold, so that the handmade origami box made in this way is different from other peoples origami The box is definitely different.


![[Origami Encyclopedia] Creative handmade origami video tutorial on origami Apple LOGO](https://img.111diy.com/timthumb.php?src=/d/file/20220217/dd2zin3tlq5.jpg&w=200&h=200&zc=1)

![[Complete Fish Origami] Carp Origami Illustrated Tutorial](https://img.111diy.com/timthumb.php?src=/d/file/20220217/crxjaul5f53.jpg&w=200&h=200&zc=1)


