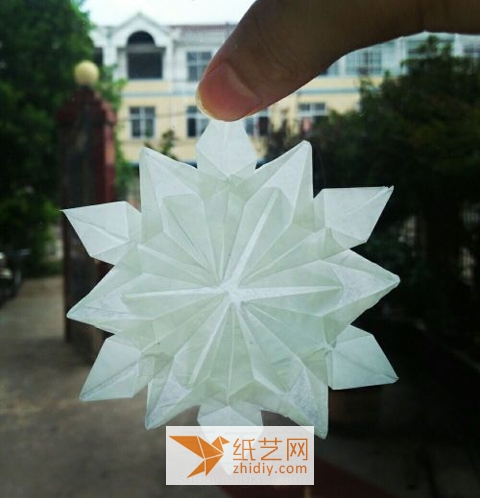
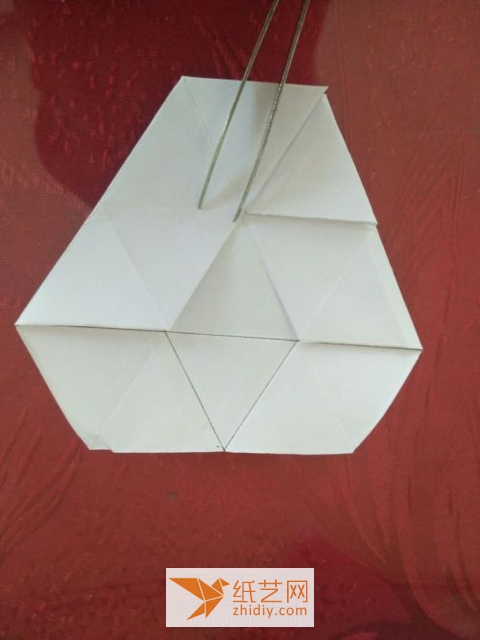
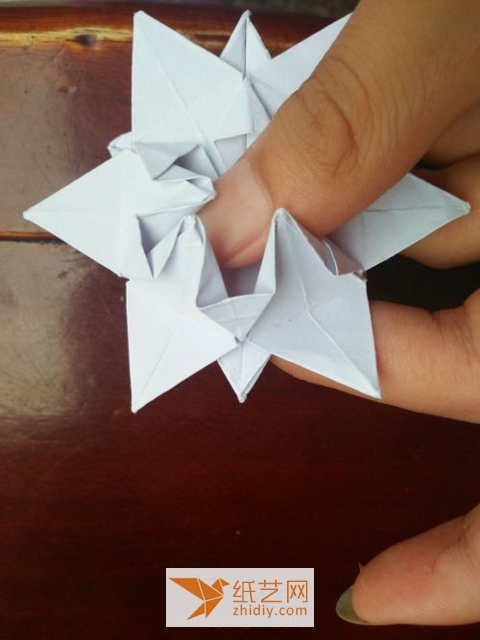
The snowflake paper art making tutorials we learned before taught you how to use paper cutting to make beautiful snowflake paper cuts! Snowflake is a very familiar project in traditional hand-cut paper-cutting. I believe many students have learned it. However, the handmade paper snowflake making tutorial we learned here today teaches you how to make snowflakes by using origami. of. There are actually many parts that need to be considered when making origami snowflakes using the origami method. For example, we can notice from this manual illustration tutorial that the paper used at the beginning is not square paper. Instead, a hexagonal paper is obtained by cutting.
Step 1:

Let’s take a look at the folded origami snowflakes first, they are very beautiful
Step 2:< /p>

Our paper is all square, so we need to preprocess it first and fold the creases in the picture
Step 3:

Fold it in half
Step 4:

Fold the corners to this crease
Step 5:

This is how it looks when folded
Step 6:

The four corners must be folded like this
Step 7:

Then open After that, fold the two black lines together
Step 8:

Find these two points and mark them
No. 9 Steps:
Open like this
Step 10:

Find these four points
Step 11 :
Then cut along the lines
Step 12:

This is a hexagonal paper
Step 13:

Start the formal folding, fold in half
Step 14:

Open, then fold the sides to the middle
Step 15:< /p>

Fold all six sides, and then you will get the creases of the lines
Step 16:

Fold the sides again
Step 17:

Also fold the adjacent edge
Step 18:

In sequence Fold all sides
Step 19:

Continue folding
Step 20:

This edge is also folded
Step 21:

Continue folding
Step 22:

Insert the last corner under the first one
p>Step 23:

Fold it like this
Step 24:

Fold them along the square
Step 25:

Put the folded corners up
Step 26:

Open the direction like this Press down and fold
Step 27:

Step 28:

The rest are folded like this
Step 29:

Fold the two lower edges to the middle
Step 30:

Fold each part like this
Step 31 :
Open it like this and fold both sides inward
Step 32:

Fold one first
Step 33:

Then fold the rest
Step 34:

Turn over to the other side
Step 35:

Fold the corners to the middle
Step 36:

Fold each corner and then open
Step 37:
p>
Let’s fold a corner
Step 38:

Continue folding the adjacent corners
Chapter 39 Steps:
Two folded like this
Step 40:

Fold everything along the way
Step 41:

Open the adjacent corners like this
Step 42:

Fold to a flat position
p>Step 43:

Fold each small part like this
Step 44:

Turn over
Step 45:

Fold the inner corners outward
Step 46:

都Fold it like this
Step 47:

Pick up the inside like this
Step 48:

Fold like this
Step 49:

Folded
Step 50:

It will look like this once it is folded
Step 51:

Pull out the inner layer
Step 52:

Continue folding like this
Step 53:

It will look like this
Step 54:

Fold the sides like this
Step 55:
p>
Fold the side open part along the direction
Step 56:

After all folding is completed, you will have the completed origami snowflake
Step 57:
< p>
Everyone should master the method of obtaining such a hexagonal paper. Why do you say this? After you master such a method of obtaining hexagonal paper, you can also cut out hexagons according to your own needs in the future. paper, or other polygonal paper, which is very helpful for us to fold complex or some special styles of hand-made origami operations. When we learn to make such hand-made origami snowflakes, we also need A key step to consider is to choose the appropriate paper. This is quite different from the different polygonal papers we chose earlier. What you need to choose is sulfuric acid paper. The sulfuric acid paper has better light transmittance. The folded snowflakes are hung. It will look very beautiful when it rises. This further enhances the artistic sense of our handmade origami snowflakes.


![[Origami Encyclopedia] Creative handmade origami video tutorial on origami Apple LOGO](https://img.111diy.com/timthumb.php?src=/d/file/20220217/dd2zin3tlq5.jpg&w=200&h=200&zc=1)

![[Complete Fish Origami] Carp Origami Illustrated Tutorial](https://img.111diy.com/timthumb.php?src=/d/file/20220217/crxjaul5f53.jpg&w=200&h=200&zc=1)


