 Fukuyama Rose Origami Tutorial
Fukuyama Rose has published many tutorials, so I’m here to join in the fun. Different tutorials always have different angles. You can make the rose more beautiful by watching a few more tutorials. I have also joined the army of sharing rose origami tutorials. The photo was not taken well, please forgive me.
Step 1:

Step 2:

I believe everyone knows the eight-line grid
Step 3:

Step 4:

Double Triangle
Step 5:

Fold along the line
Step 6:

After opening, there will be a square like this
Step 7:
p>
Step 8:

Fold along the line
Step 9:

Step 10:
p>
Step 11:
Down
Step 12:

Same
Step 13:

Front
Step 14:

Reverse side
Step 15:
 < /p>
< /p>
Folding
Step 16:

There will be such creases
Step 17:

Zhezhe
Step 18:

Thumb, point to one Press
Step 19:
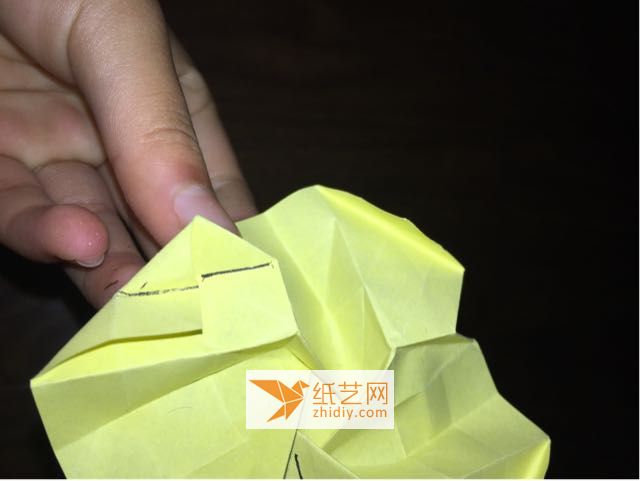
Thats it
Step 20:

Adjust it
Step 21:

All four are like this
Step 22:

Translate Go to the back
Step 23:
Step 24:

Same for the other three
Step 25:
< img alt="Fukuyama RoseOrigami tutorial" src="https://img.111diy.com/timthumb.php?src=/d/file/20220216/owvdk4lad5l.jpg" />
Like this
Step 26:
p>
Open
Step 27:

Step 28:

Same for the other three
Step 29:

Like this
Step 30:

Big Fold your thumb to the black line
Step 31:

Like this, the other three are also like this
Step 32:

Turn over and do the same for the other three
Step 33:

Like this
Step 34:

Turn over
Step 35:

Like this, the other three are like this
< p>Step 36:
Like this
Step 37:

Thumb press
Step 38:

Step 39:

One click with your thumb< /p>
Step 40:

The same goes for the other three
Step 41:

Like this
Step 42:

Step 43:

Same for the other three
p>Step 44:

Step 45:

Fold clockwise
Step 46:

Step 47 :

Step 48:

Step 49:

Step 50:


![[Origami Encyclopedia] Creative handmade origami video tutorial on origami Apple LOGO](https://img.111diy.com/timthumb.php?src=/d/file/20220217/dd2zin3tlq5.jpg&w=200&h=200&zc=1)

![[Complete Fish Origami] Carp Origami Illustrated Tutorial](https://img.111diy.com/timthumb.php?src=/d/file/20220217/crxjaul5f53.jpg&w=200&h=200&zc=1)


