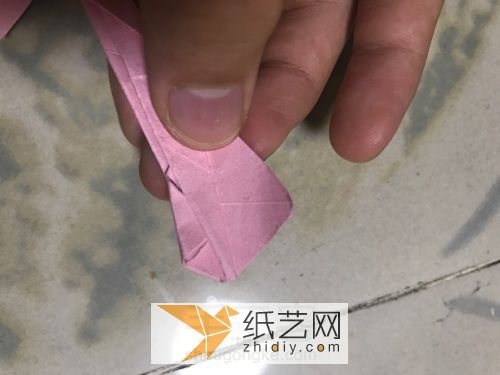
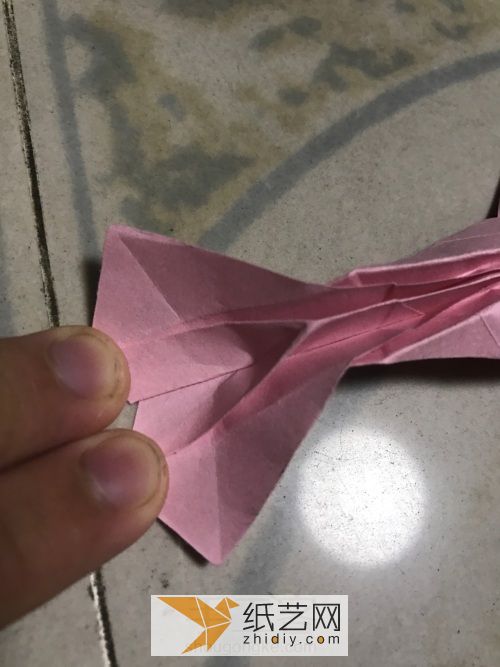
Everyone believes that koi fish can bring us good luck, so how to make handmade origami koi fish? That is, how to use origami to make koi? In fact, there are not many illustrated tutorials on how to make koi origami on the Internet. This brings a lot of trouble to students who want to learn how to make koi origami. In order to help everyone solve this long-term problem For everyone’s hand-making problems, we will share with you here an illustrated tutorial on how to make hand-made koi origami. Such a hand-illustrated tutorial shows in detail how to make origami koi, which will be of great help to students who hope to fold beautiful and fun koi.
Step 1:

Beautiful origami koi finished picture
Step 2:

Prepare a square piece of colored paper
Step 3:

Fold the square paper in half
Step 4:

Then cut into two pieces of paper
Step 5:

This is two rectangular pieces of paper
Step 6:

Use one of the rectangular pieces of paper
Step 7:
< img alt="Exquisite Origami Koi Teachers Day Gift" src="https://img.111diy.com/timthumb.php?src=/d/file/20220222/unpnxt3b1xf.jpg" />
Fold the lower right corner to Above
Step 8:

Fold the left edge to this position
Step 9:

The bottom should be cut along this crease
Step 10:

Just cut it like this
Step 11:

Keep the above part
Step 12:
< p>
Open the folded corner
Step 13:

Fold the bottom corners over
Step 14:

After opening, the other corner is also folded oppositely
Step 15:

Open again
Step 16 :

Fold the two long sides in half
Step 17:

Open the previous folded
Step 18:

Fold the long sides to the middle< /p>
Step 19:

Both long sides must be folded to the middle
Step 20:

Fold it like this
Step 21 :

Open like this
Step 22:

Pull the corners on both sides to both sides and fold them again
Step 23:

Just fold it flat like this
Step 24:
< img alt="Exquisite Origami Koi Teachers Day Gift" src="https://img.111diy.com/timthumb.php?src=/d/file/20220222/x2elnmvm4xs.jpg" />
Turn over, like this Folding
Step 25:

Fold both sides the same
Step 26:

Fold the corners to both sides
Step 27:< /p>

Step 28:

Fold the bottom part in half
Step 29:

Fold along the crease like this
Step 30:

Pinch the creases on both sides< /p>
Step 31:

Look at the side
Step 32:

Fold it like this
Step 33:

Fold it to this Location
Step 34:

Then open
Step 35:

Pick up the middle part
Step 36:
p>
Pinch both sides again
Step 37:

Open the parts on both sides like this
Step 38:

Fold it like this
Step 39:

All folded< /p>
Step 40:

Fold it like this
Step 41:

Okay, just fold it like this
Step 42:
p>
Press the middle part with your hands
Step 43:

Fold it like this
Step 44:

Fold into this effect
Step 45:

Handle it this way
Step 46:

Continue to fold the tail position
Step 47:

This should be pressed down
Step 48:

It’s time to fold it up
Step 49:

After folding both sides, the origami koi tail will be opened
Step 50:
p>
Pinch the middle waist
Step 51:

Fold it into a curved shape, like a swimming origami koi
Step 52:

< span style="color: rgb(51, 51, 51); font-family: Microsoft Yahei, 'Microsoft Yahei', 'Hiragino Sans GB', tahoma, arial, 宋体; line-height: 28.8px;">This way A tutorial on how to make a handmade origami koi is very clear. It mainly focuses on the making method of the origami koi and the corresponding handmade origami illustrations.The steps are shown very clearly. For friends who don’t have much origami foundation, they can also follow this illustrated tutorial on handmade origami koi to make cute and interesting koi that can bring us luck.


![[Origami Encyclopedia] Creative handmade origami video tutorial on origami Apple LOGO](https://img.111diy.com/timthumb.php?src=/d/file/20220217/dd2zin3tlq5.jpg&w=200&h=200&zc=1)

![[Complete Fish Origami] Carp Origami Illustrated Tutorial](https://img.111diy.com/timthumb.php?src=/d/file/20220217/crxjaul5f53.jpg&w=200&h=200&zc=1)


