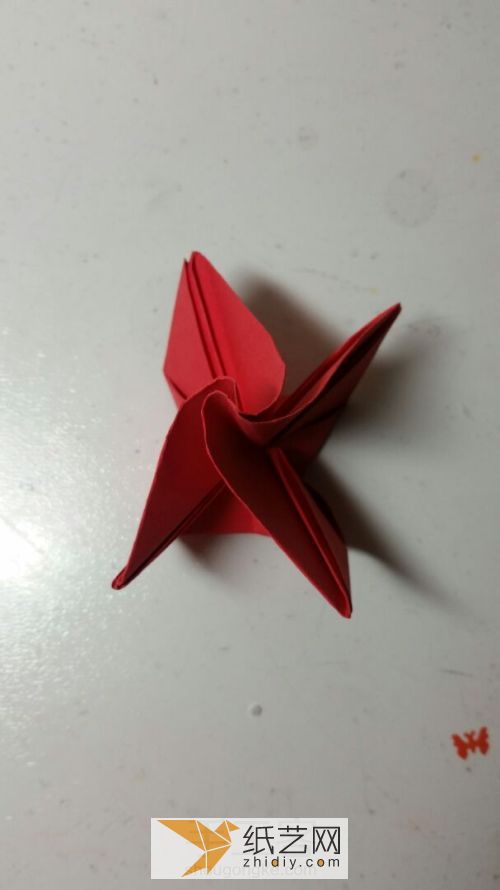
There are many simple ways to fold origami roses. Many students may have tried various simple folding methods of hand-made origami roses. After all, the charm of paper roses is so great. If you ask ten What do people who like origami like to fold the most? It is estimated that 9 people will tell you their favorite way to make origami roses. This is the magic of origami roses. Everyone likes the elegant and attractive shape, and they all like the unique rotating effect of origami roses. This is the unique making experience that origami roses bring us, let us You can enjoy the unique folding fun in making handmade origami. The simple folding tutorial of hand-made origami roses is loved by everyone, mainly because the origami roses are simple enough and will not make people feel the frustration of origami making. Instead, they enjoy the fun of hand-folding. At the same time, the origami roses Flowers have many application scenarios, such as Valentines Day, birthdays or Christmas, or even Fathers Day, Mothers Day and Teachers Day. Therefore, the hand-making of rose origami has naturally become everyones favorite. of folding production type.
The tutorial for making handmade origami roses shared with you here is a simple illustrated tutorial on how to make handmade origami roses, and a tutorial with real photos. A great advantage is that when folding this handmade origami rose, some details are retained in the origami tutorial. Each step has a photo showing how to fold the origami rose. This It is very rare. The clear photos of manual folding make our folding learning and production easier and easier to get started. In particular, you can explore and try out some shape changes that may be involved in the folding process. Having said that, let’s learn this simple and interesting handmade origami rose making tutorial. How to complete the folding of a simple paper rose is in this tutorial.
Step 1:

Square paper
Step 2:
< p>
Fold diagonally in half
Step 3:

Picture
Step 4:

In turn, also fold it up
Step 5:

Open from above
Step 6:

Press down
Step 7:

Fold it up
Step 8:

Same as other triangles
No. 9 Steps:
Open and fold it
Step 10:

Others are the same
Step 11:

Fold it down, and do the same for the other three
< p>Step 12:
Fold both sides down
Step 13:

Turn to this side
< p>Step 14:
Fold it down
Step 15:

Same for other triangles
Step 16:

Picture, the same on the other side
Step 17:

Yes
No. Step 18:

Open from the top
Step 19:

Yes
Step 20:

Press the two triangles inward
Step 21:

Sharing
Step 22:

View from above
Step 23:

Start Volume
Step 24:

Continue with the volume
Step 25:

Rolled up
Step 26:

Roll the petals and it’s done!!
The origami rose is completed After studying the tutorial, many students still hope that their handmade origami roses will look more beautiful and attractive. If you have such requirements, you need to pay attention to the corresponding adjustments to the petal structure of the origami roses. This It is a step to reshape the origami rose, and it is also a step to make the origami rose more attractive. It is also one of the most important steps in the origami rose illustration tutorial, so don’t ignore it.


![[Origami Encyclopedia] Creative handmade origami video tutorial on origami Apple LOGO](https://img.111diy.com/timthumb.php?src=/d/file/20220217/dd2zin3tlq5.jpg&w=200&h=200&zc=1)

![[Complete Fish Origami] Carp Origami Illustrated Tutorial](https://img.111diy.com/timthumb.php?src=/d/file/20220217/crxjaul5f53.jpg&w=200&h=200&zc=1)


