Many friends who like paper art are no strangers to paper quilling, but in the past you may have only seen the beauty of quilling paper in handmade work displays, but have never personally tried the handmade creative production. Here let us learn a simple method of making paper flowers! From the production details, we can see that the production of this handmade paper quilling painting is relatively easy, because the quilling paper is similar to many other handmade clothes, using a combined production method, so we only need to Then complete the basic module production, and then assemble the modules together, so that the manual expression of the paper quilling is completed! The production of basic manual units of paper quilling is quite technical. However, if you have learned about basic paper quilling production, you can know that these seemingly very complicated petal patterns are completely completed through some simple basic paper quilling techniques. of.
If you are a beginner in paper quilling, you may need to understand the basic paper quilling tools first, or learn about the production process The required quilling paper materials are very helpful for the final production of exquisite quilling paper. The paper strips used in the paper-quilling flowers we see here are actually relatively simple. If you have not developed them yourself, you can use colored printing paper to cut them yourself to obtain the required paper strips. .
If the paper-quilled flowers you make are relatively large, it is recommended that the paper-quilled strips be able to have some texture, so that the paper-quilled flowers produced will be more beautiful. It won't look bad. In any case, let’s first take a look at how to make this simple paper-quilled flower. This simple hand-made paper-quilled flower tutorial illustration can help you really understand how to complete a simple paper-quilled flower.
Step 1:

Prepare three pieces of colored paper and cut them into small strips of about one centimeter
Step 2 :

Look at the picture and fold it, and then stick it with glue
Step 3:

Fold again and stick again
Step 4:

Fold it again and paste it again
< p>Step 5:
Continue to wrap, (I didn’t have enough paper strips, so I took one) and cut off the excess
Step 6:
< img alt="How to make simple paper flowers" src="https://img.111diy.com/timthumb.php?src=/d/file/20220222/mxmrctrojuj.jpg" />
Change a color
Step 7:

Tangle
Step 8:

Continue to pester, this is not enough
Step 9:

After wrapping up the excess Cut it off, look at the side, it’s not neat, then cut it flat
Step 10:

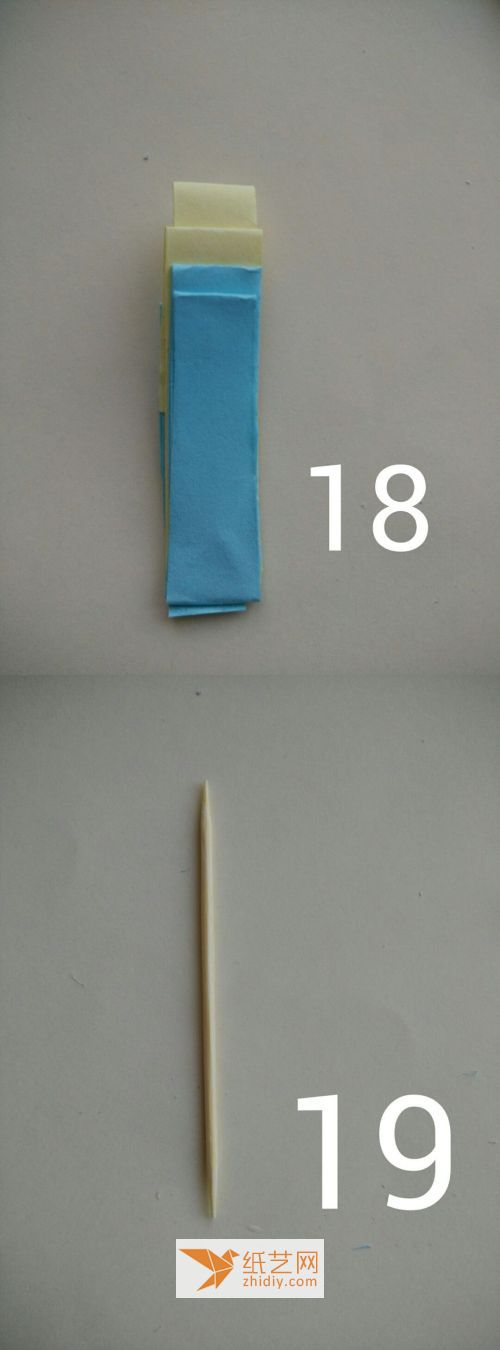
After cutting it flat, find a toothpick, if you have a special tool, you can also
No. 11 Steps:

Tuck it in and roll it up
Step 12:

After each roll is completed, take the last piece of paper and wrap it around it< /p>
Step 13:
Take it out, the picture above is wrong
Step 14:

Apply glue to the roots and stick them
Step 15:

Do four more and it’s done


