Home > Paper art encyclopedia > Paper quilling tutorial

Here is an introductory tutorial on paper quilling. A handmade tutorial for a paper quilling dancer.

When we learned how to make quilled paper before, we usually produced handmade paper flowers. The quilled paper we are learning today is different. Here we learn the quilled paper flowers created by this quilled paper. The paper work is a dancer who makes paper. Such a magical modeling creativity allows us to be exposed to the experience brought by another hand-made model, especially the production method of this paper-quilling actor, which allows us to see that paper-quilling can actually be used in modeling expansion. A lot of space, creating a very nice effect.

Step 1:
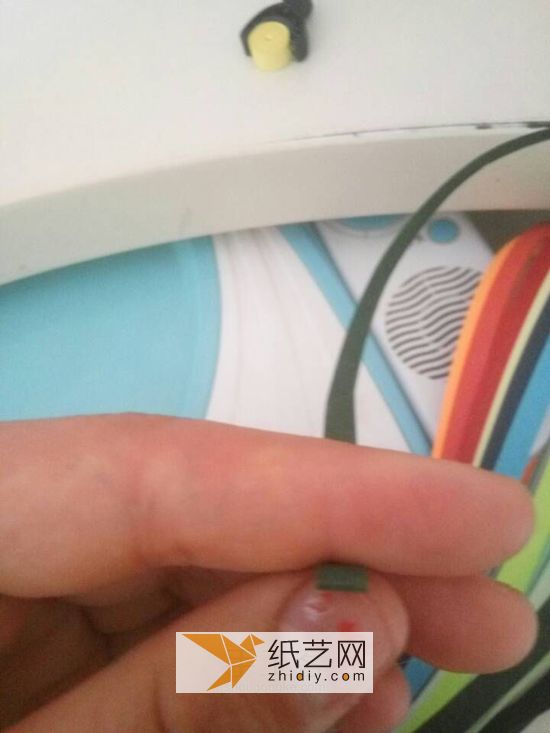
Here is an introductory tutorial on paper quilling. A handmade tutorial for a paper quilling dancer.

Start making the head of the paper dancer first

Step 2:

Here is an introductory tutorial on paper quilling. A handmade tutorial for a paper quilling dancer.< /p>

Start making paper quilling rolls like this

Step 3:

Here is an introductory tutorial on paper quilling. A handmade tutorial for a paper quilling dancer.

Let’s make a tighter paper roll

Step 4:

Here is an introductory tutorial on paper quilling. A handmade tutorial for a paper quilling dancer.

The combination is the head of the paper dancer

Step 5:

Here is an introductory tutorial on paper quilling. A handmade tutorial for a paper quilling dancer.

Take a light purple quilling paper strip

Step 6:

Here is an introductory tutorial on paper quilling. A handmade tutorial for a paper quilling dancer.

Pre-process it first

Step 7:

Here is an introductory tutorial on paper quilling. A handmade tutorial for a paper quilling dancer.

Pinch it like this

Step 8:

Here is an introductory tutorial on paper quilling. A handmade tutorial for a paper quilling dancer.

Glue the ends

Step 9:

Here is an introductory tutorial on paper quilling. A handmade tutorial for a paper quilling dancer.

Let’s start styling

Step 10:

Here is an introductory tutorial on paper quilling. A handmade tutorial for a paper quilling dancer.

Let’s continue preparing paper quilling strips

Step 11:

Here is an introductory tutorial on paper quilling. A handmade tutorial for a paper quilling dancer.

Roll the yellow paper into a tight roll

Step 12:

< img alt="Introductory tutorial on paper quilling, here is a handmade tutorial by a paper quilling dancer" src="https://img.111diy.com/timthumb.php?src=/d/file/20220222/s04ziuhgryi.jpg" />

< p>This is used as a neck

Step 13:

Here is an introductory tutorial on paper quilling. A handmade tutorial for a paper quilling dancer.

Take out two more

Step 14:

Here is an introductory tutorial on paper quilling. A handmade tutorial for a paper quilling dancer.

Bend the two sheets into a W

Step 15:

Here is an introductory tutorial on paper quilling. A handmade tutorial for a paper quilling dancer.

Then it can be used as an arm

Step 16:

Here is an introductory tutorial on paper quilling. A handmade tutorial for a paper quilling dancer.

The body part was made previously

Step 17:

Here is an introductory tutorial on paper quilling. A handmade tutorial for a paper quilling dancer.

Continue to make paper-quilling Paper roll

Step 18:

Here is an introductory tutorial on paper quilling. A handmade tutorial for a paper quilling dancer.

Fill the paper roll into the body

Step 19:

Here is an introductory tutorial on paper quilling. A handmade tutorial for a paper quilling dancer.

Get another piece of paper

Step 20:

Here is an introductory tutorial on paper quilling. A handmade tutorial for a paper quilling dancer.

Glue it into a water drop shape

Step 21:

Here is an introductory tutorial on paper quilling. A handmade tutorial for a paper quilling dancer.

Use several water drop-shaped paper rings as a derivative Paper skirt

Step 22:

Here is an introductory tutorial on paper quilling. A handmade tutorial for a paper quilling dancer.

Roll another paper roll

Step 23:

Here is an introductory tutorial on paper quilling. A handmade tutorial for a paper quilling dancer.

Let it loosen up a little like this

Step 24:

Here is an introductory tutorial on paper quilling. A handmade tutorial for a paper quilling dancer.

Then shape it like this

Step 25:

< img alt="Introductory tutorial on paper quilling, here is a handmade tutorial by a paper quilling dancer" src="https://img.111diy.com/timthumb.php?src=/d/file/20220222/n0gucky0qvg.jpg" />

< p>Continue to shape into a triangle

Step 26:

Here is an introductory tutorial on paper quilling. A handmade tutorial for a paper quilling dancer.

Press one side in again

Step 27:

Here is an introductory tutorial on paper quilling. A handmade tutorial for a paper quilling dancer.

Apply glue

Step 28:

Here is an introductory tutorial on paper quilling. A handmade tutorial for a paper quilling dancer.

Then It can be decorated into the skirt

Step 29:

Here is an introductory tutorial on paper quilling. A handmade tutorial for a paper quilling dancer.

Let’s make the legs of the quilled paper

Step 30:

< p>Here is an introductory tutorial on paper quilling. A handmade tutorial for a paper quilling dancer.

The production method and process of this actor will be easier than the production of ordinary paper flowers, because the production of paper flowers is usually relatively compact, and what we see here The production of this paper-quilling dancer is more relaxed and stretched, which makes the entire production process easier to operate, and also facilitates paper-quilling beginners to have unexpected gains when they make further attempts, that is, He said that by learning the assembly of this shape, he will eventually be able to better utilize his creativity in paper quilling DIY.