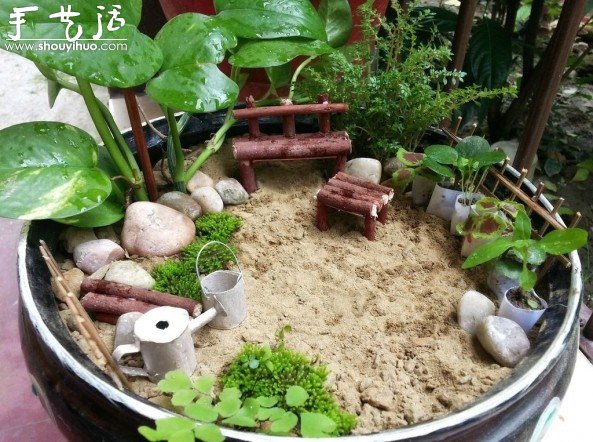
Tutorial on making mini miniature gardens. In fact, the materials are all around you and can be found everywhere. As long as you put your mind to it, you can DIY a fairy-tale miniature garden in half an hour.
Main materials:
Paper, thick paper used to make plant pots, buckets, etc.
A variety of wooden sticks are convenient for building small plants, mosses, and succulents of various shapes
Sand any plants you want to add
Of course, don’t forget the flower pots, which are the basis of the miniature garden
Tools required:
Scissors, glue
Production steps:
Step 1:
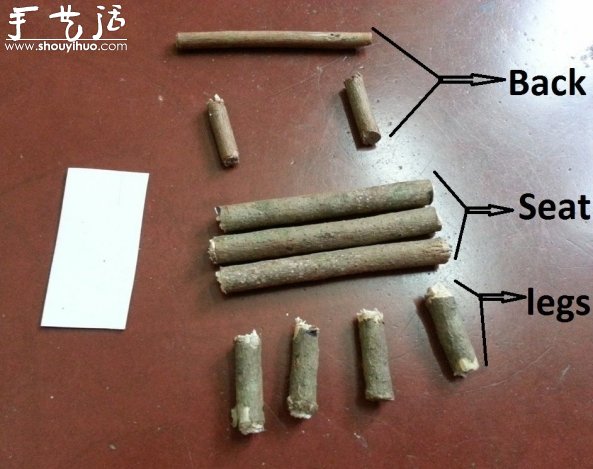
Prepare wooden sticks as shown in the picture. Make a bench. The size of the chair depends on the size of your planter.
Step 2:
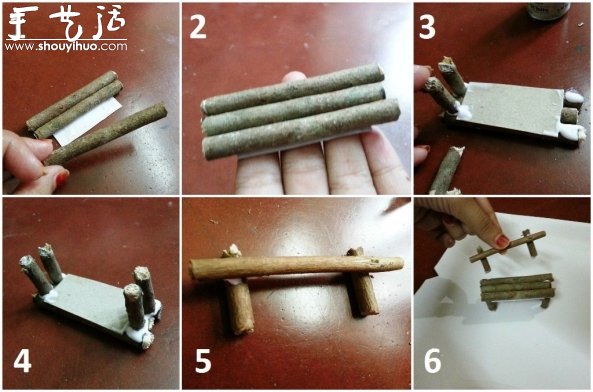
Paste as shown. You will need to use strong glue or carpenters glue.
Multiple benches can be made using the same method according to actual needs.
Step 3:

Make a fence. This one is simpler. Just do it.
Step 4:
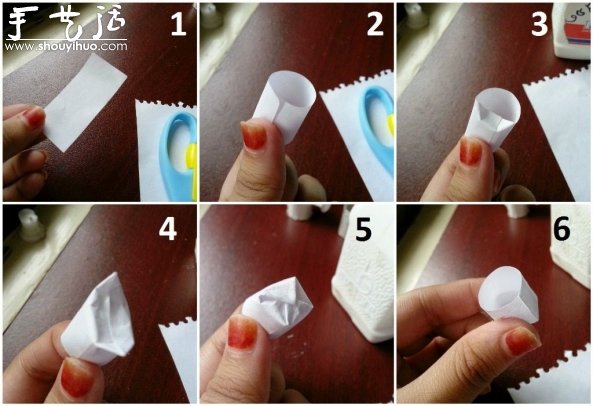
Prepare paper, 3X5 size is enough. Wrap it into a cylinder shape and glue it into a flowerpot shape. Fill it with soil and add small green plants.
Step 5:
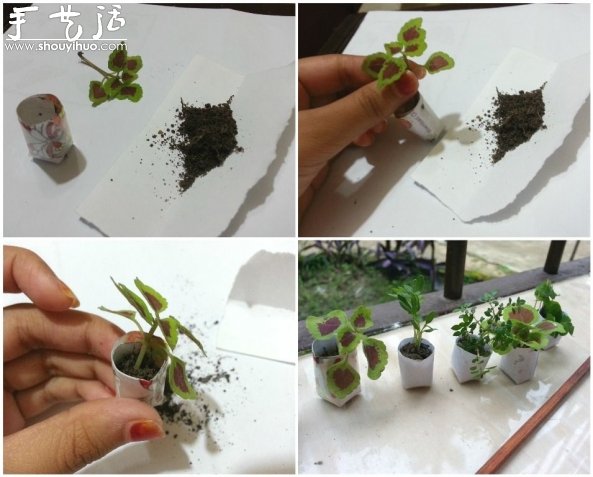
Green plants can be seen everywhere. You can choose what you like, even grass on the roadside is fine.
Step 6:
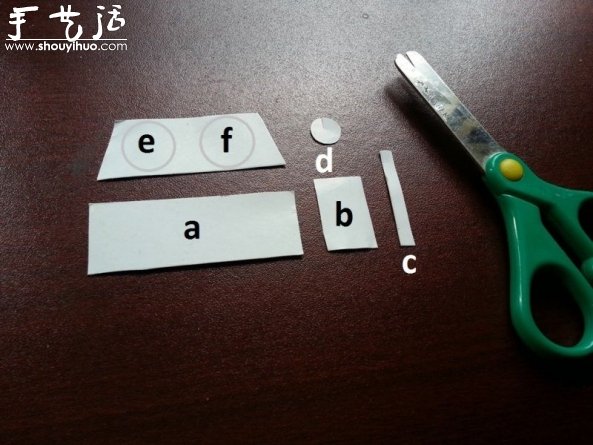
Make a watering can commonly used in the garden. Use relatively thick paper.
Step 7:
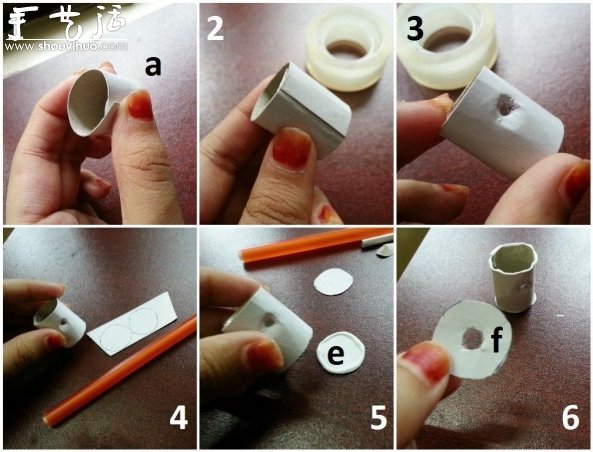
Go down in order of numbers. Leave the mouth of the watering can open and glue it on.
Step 8:

Follow the steps corresponding to their respective numbers.
Step 9:
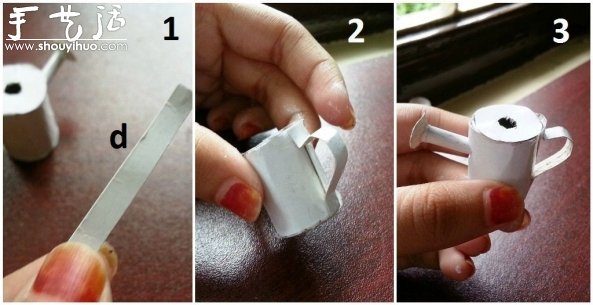
Step 10:
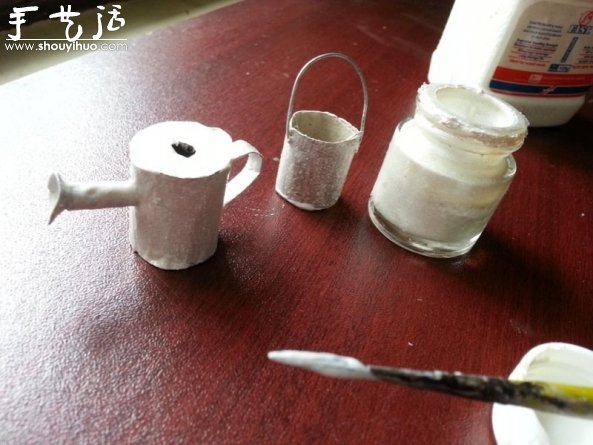
Make a bucket in a simpler way.
Step 11:
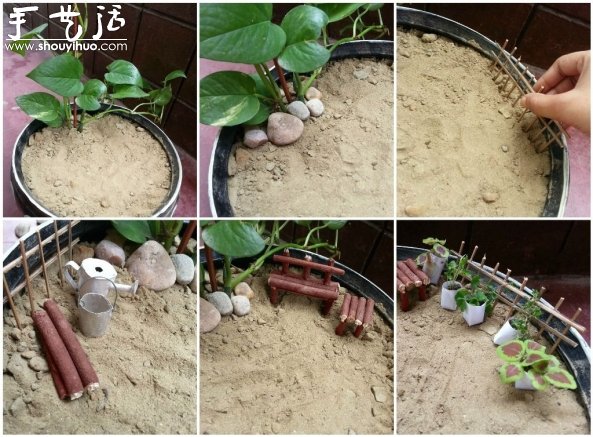
Organize your garden by placing these benches and common garden tools wherever you like.
Step 12:
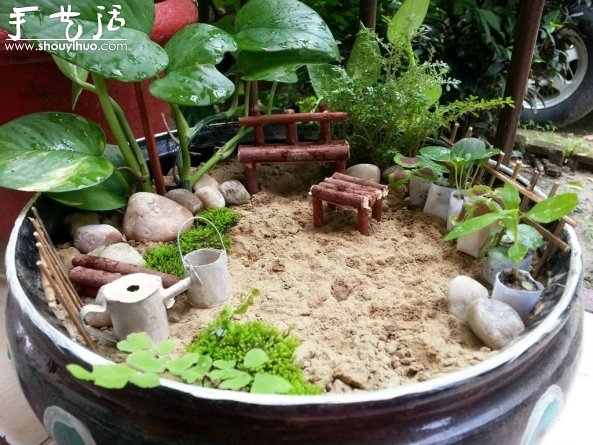
The prototype is out.
Step 13:

Feel free to adjust the position if you don't like it.
Step 14:
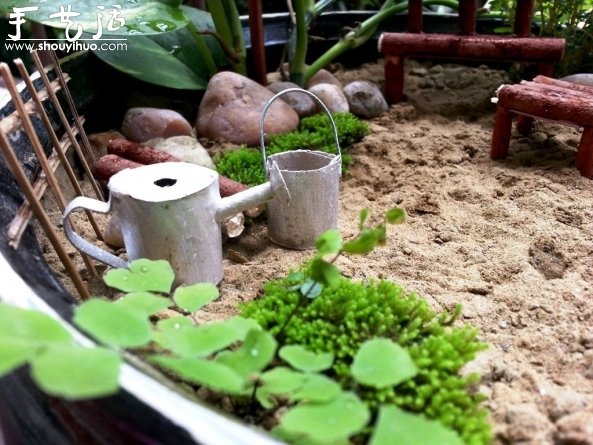
Sand can be used to create some hilly feel.
Step 15:
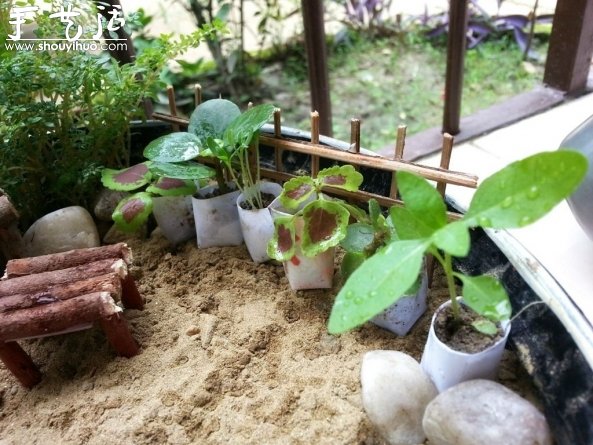
Add some school stones to embellish it.
Step 16:
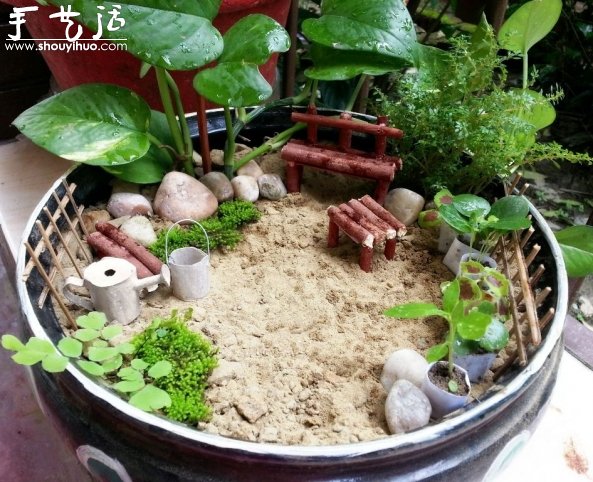
Okay. Keep it simple.
Tips:
Life is full of beauty, beautify your home.


