In daily life, we often There were a lot of shoes placed in a messy manner, which looked quite bad. The following tutorial will teach you how to make a DIY home shoe rack by using waste cardboard. The shoe rack can be stored well.

This tutorial is also relatively simple , let’s take a look below.

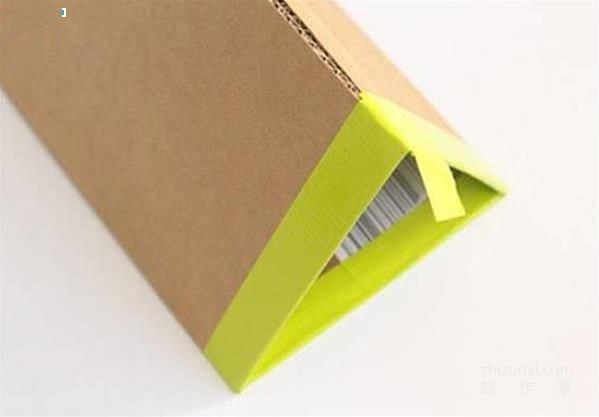
1, cut off a piece Carton board, according to the above dimensions, the length and width of the carton board are 18x60cm, and divided into three equal parts, so that it can form a triangular prism. First, use a piece of tape to stick the opening on one side of the triangular prism halfway, as shown in the picture above.

2, then stick the other half of the tape to the other side of the cardboard and wrap this side. We imagine This edge serves as the outward opening of the triangular prism, so the hemming protects it. Fold the cardboard into the shape of a triangular prism and secure the opening with tape.

3, triangular prism Also secure it with tape in the middle, so we have our first module.

4, I want The shoe rack has three levels, with 4, 5, and 4 triangular prism modules respectively, so 13 triangular prisms of the same size need to be made. Use tape or glue to stick the required triangular prisms for each layer side by side on a cardboard of suitable size.

5, then stack each layer from bottom to top, with the opening with the tape facing outwards for a more beautiful appearance. Cover it with a cardboard board, and you can put some shoes with "unconventional" sizes.
The above are all illustrated picture tutorials! Have you learned it?


