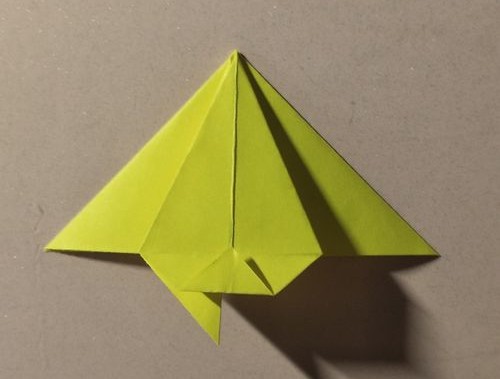
A very simple and practical triangle bookmark illustration.

Fold the two opposite sides and two opposite corners in half to create a rice-shaped crease. Expand, as shown in the picture:

Fold both sides in half, and fold the two corners of the non-open side according to the existing ones Fold inwards to form a triangle with inward folds, as shown in the picture:

Fold the two corners of the upper layer toward the center vertical line, as shown in the figure:

Turn over one corner, open it from the middle, and press down on the existing crease, as shown in the picture:

Fold the lower corner upward along the bottom edge to make a crease and unfold it, as shown in the picture:
< p style="text-align: center;">


Fold the lower corner up. Crease, as shown:

The top OrigamiFold the left side to the right, as shown in the picture:

Repeat steps 4-7 on the left part, as shown in the figure:

The two small trapezoids below are folded upward from the left and right sides as shown in the picture (there are already creases), and a creative, simple and practical triangular bookmark is ready.


