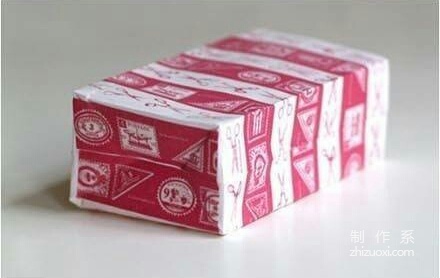
How to make colorful gift wrapping paper bags. Main materials:
One envelope and more than one colorful tape.
How to make colorful gift wrapping paper bags. Required tools:
Scissors and glue.
Floral gifts. How to make packaging paper bags Production steps:
Step 1: Finished product display
Step 2: Make the envelope shorter Cut one end to serve as the opening of the bag. There are two colors of tape prepared here. Put the tape from the opening As a starting point (leaving an opening and about 2.5 cm at the bottom), attach them to the envelope in sequence to strengthen the envelope (and at the same time make the packaging bag waterproof). Will set aside Fold the bottom end and 1.5 cm on both sides, and then fold it in the opposite direction along the crease to facilitate the shaping in the next step. Put the envelope up with your hands according to the crease just now, and press the two corners that come out firmly.
Fold the two corners toward the bottom and seal the bottom with colorful tape.
After loading the items, fold down the remaining section at the top and seal it with tape.
Tip: Tape alignment will make the bag look more refined.


