If you like drinking red wine, why not try making your own cardboard wine rack! This amazing wine rack can store up to 9 bottles of wine, it is cheap and easy!~
Safety advice:This tutorial uses sharp tools and needs to be used with care. If you are not sure how to use it, please do not continue. Not suitable for children.

Materials and tools: cardboard, string, paper knife, awl, scissors, pencil, glue, tape, cutting mat, ruler, etc.
You will need a sturdy piece of cardboard (two layers recommended) measuring 300 x 30 cm.

Label the following parts on the cardboard:
- One for the sides: 100 x 30 cm.
- Three inside: 50 x 30 cm.
- One for base: 45 x 30 cm.

Cut the cardboard and draw the edges that need to be left, the width is 5 cm.

It is recommended that you cut one layer and apply pressure with scissors before folding.

Depth 30cm, suitable for ordinary wine bottles. If you want the mouth of the wine bottle to be exposed, you can reduce it to about 25 cm.

Now spread glue on a 50x30cm cardboard and make a triangular three-dimensional structure.

Do the same thing with the other two pieces and set aside to dry. Make three holes in each triangle: one on the left, another on the right, and the last one in the middle of the edge, but not quite on the edge.

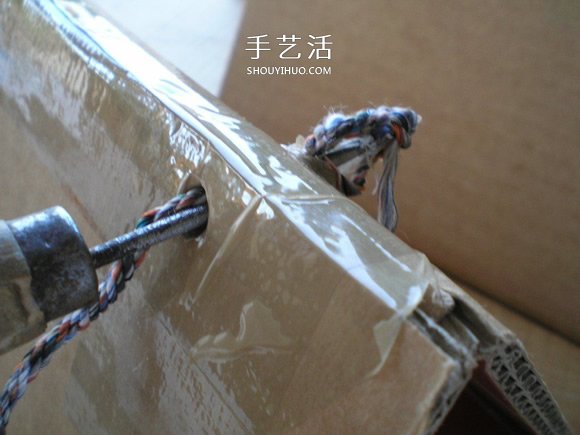
Then thread the string through the hole.

Reinforce the cardboard structure.

Tie a knot.

Create external components. Glue the edges of the largest block (100x30) and glue it to the base (45x30) to obtain a large triangular three-dimensional structure.

Add tape to reinforce, this is the bottom of the wine rack.

Finally, place the three smaller triangles inside the larger triangle, punching holes in the sides and edges.

And tie it with a rope.

I put three on the first layer and two on the second because of the lighter weight. Repeat on sides and base.

Finally you can paint the cardboard or decorate it with other materials. Now, pop the bottle in and enjoy your work and wine!


